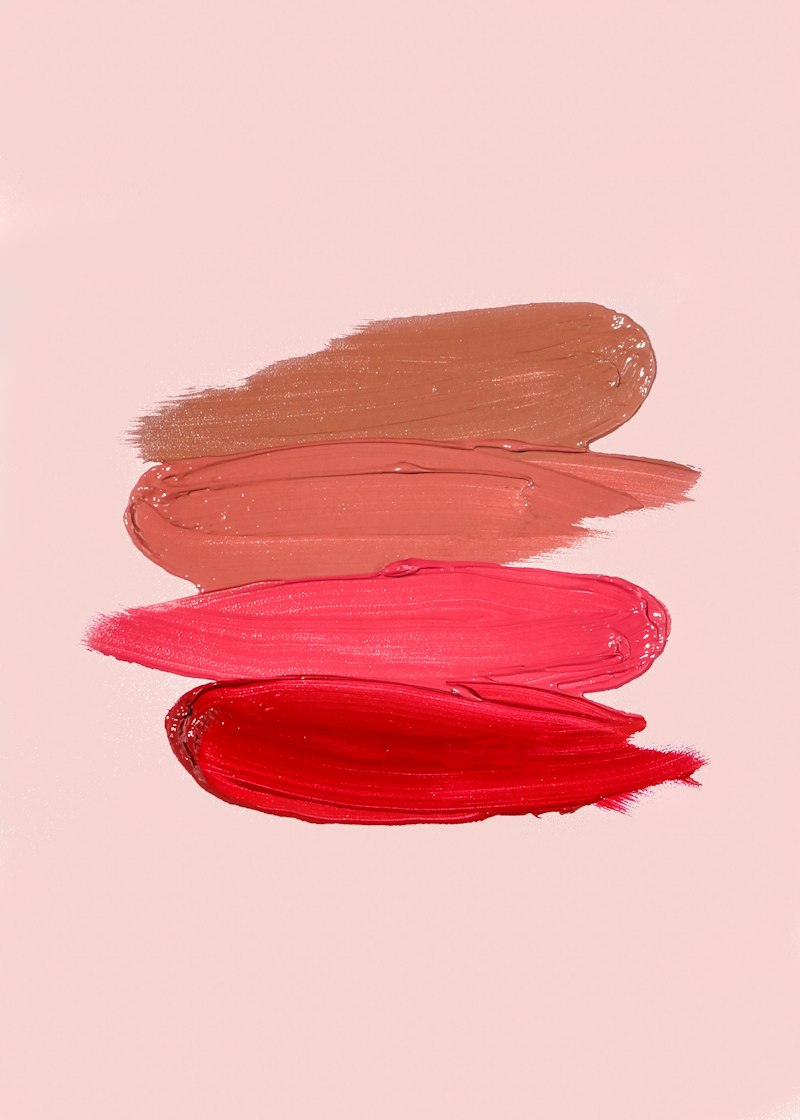
The Perfect Lip Combination for Every Skin Tone
A Certified Makeup Artist's guide to layering lip liner, lipstick, and gloss correctly, with tips for finding the right combination for your skin tone.
Introduction
A truly polished lip look isn’t about any single product — it’s about how liner, lipstick, and gloss work together as a layered system. As a Certified Makeup Artist, I want to walk through exactly how to build the perfect lip combination and share how to think about finding the right shades for your specific skin tone.
Why Layering Matters More Than Any Single Product
A lipstick applied alone, without proper liner underneath, often fades unevenly and can look less defined by the end of the day. Building your lip look in layers — liner, then lipstick, then optionally gloss — creates both better definition and genuinely longer-lasting wear than any single product used in isolation.
Step One: Choose a Liner That Complements, Not Just Matches
A common mistake is choosing a liner in the exact same shade as your lipstick, when a liner just slightly deeper than your lipstick actually creates more dimension and a subtly more polished finished look. Line your entire lip, not just the border, to create an even base for the color that follows.
Step Two: Understanding Undertones for Your Skin Tone
Lip color undertones generally fall into cool (blue or pink-based) or warm (orange or peach-based) families, and matching this to your skin’s own undertone makes a noticeable difference in how flattering a shade reads. If you’re unsure of your undertone, look at the veins on your wrist in natural light — greenish veins suggest a warmer undertone, while bluish veins suggest a cooler one.
Building Your Personal Lip Color Range
Rather than a single “correct” shade, most people look great in a range of colors within their flattering undertone family — the key insight is understanding which undertone family works for you, then exploring different intensities and finishes within it, from a soft everyday nude to a bolder evening shade.
Step Three: Applying Lipstick for Maximum Payoff
Apply directly from the bullet for the most saturated color, then use a small lip brush to clean up and sharpen the edges against your liner work. This extra step is what separates a precise, professional-looking lip from one that looks slightly smudged or imprecise.
Step Four: Deciding on Gloss — And Where to Apply It
A full layer of gloss over lipstick gives maximum shine but can shorten wear time and feel heavier; applying gloss only to the center of the lower lip instead creates a fuller, more dimensional look with a hint of shine, without sacrificing as much of the underlying lipstick’s longevity.

The Beauty Tips Guide
20+ years as a Licensed Master Esthetician and Makeup Artist, condensed into one guide.
Building Combinations for Different Occasions
For everyday wear, a liner-lipstick combination close to your natural lip color with minimal or no gloss tends to be the most versatile and low-maintenance. For evening or special occasions, a slightly bolder color with strategic gloss placement adds more visual interest and dimension appropriate for the setting.
Testing Combinations Before Committing
Before wearing a new lip combination somewhere important, test the full layered look — liner, lipstick, and gloss together — at home first, in natural lighting, to see how the colors actually interact rather than judging any single product in isolation.
Common Mistakes to Avoid
- Skipping lip liner entirely and applying lipstick alone. This often leads to uneven fading and less definition throughout the day.
- Matching liner and lipstick in the exact same shade. A liner slightly deeper than your lipstick creates more dimension.
- Choosing lip color shades without considering your skin’s undertone. This is the biggest factor in whether a shade reads as flattering or slightly “off.”
- Applying a full layer of gloss when you want longer wear. Center-only application gives dimension with less impact on longevity.
Pro Tips
- Check your wrist veins in natural light to identify your undertone before choosing new lip color shades.
- Choose a liner slightly deeper than your lipstick, not an exact match, for more dimension.
- Sharpen lipstick edges with a small lip brush after bullet application for the most precise, professional finish.
- Test a full layered combination at home first before wearing a new lip look somewhere important.
Frequently Asked Questions
How do I know if I have a cool or warm undertone? Check the veins on your wrist in natural light — greenish veins suggest a warmer undertone, while bluish veins suggest a cooler one. This guides which lip color family will look most flattering.
Should my lip liner match my lipstick exactly? A liner slightly deeper than your lipstick generally creates more dimension and a more polished finished look than an exact shade match.
Does gloss always need to go over the entire lip? No — applying gloss only to the center of the lower lip creates dimension and a hint of shine without sacrificing as much lipstick longevity as a full layer.
Can I wear the same lip combination for both day and evening? The same layering technique works for both, but a softer, more natural-toned combination suits daytime, while a bolder color with strategic gloss placement suits evening occasions better.
Conclusion
The perfect lip look comes from understanding your undertone and layering liner, lipstick, and gloss intentionally — not from any single “correct” product. Watch the full video above for the complete demonstration. ✨
Related Posts
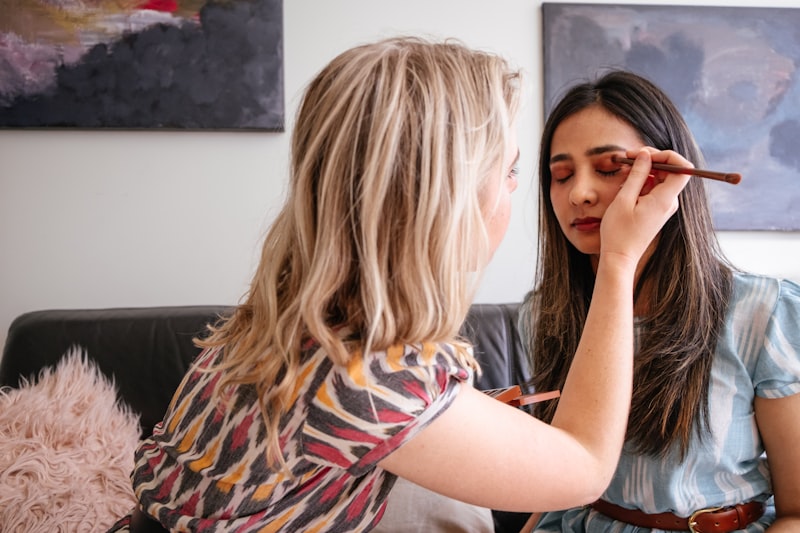
This Fall Makeup Look Works on Everyone: A Get-Ready-With-Me Tutorial
A versatile, easy fall makeup look that flatters every skin tone and eye shape — a full get-ready-with-me tutorial from base to lips.
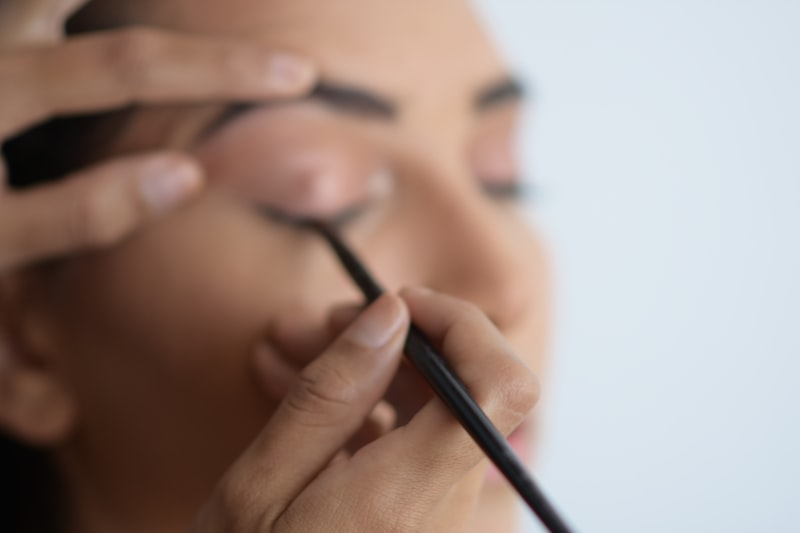
How to Get Perfect Winged Eyeliner Every Time
A step-by-step guide to consistent, symmetrical winged eyeliner — the technique, tool choice, and fixes for the most common mistakes.
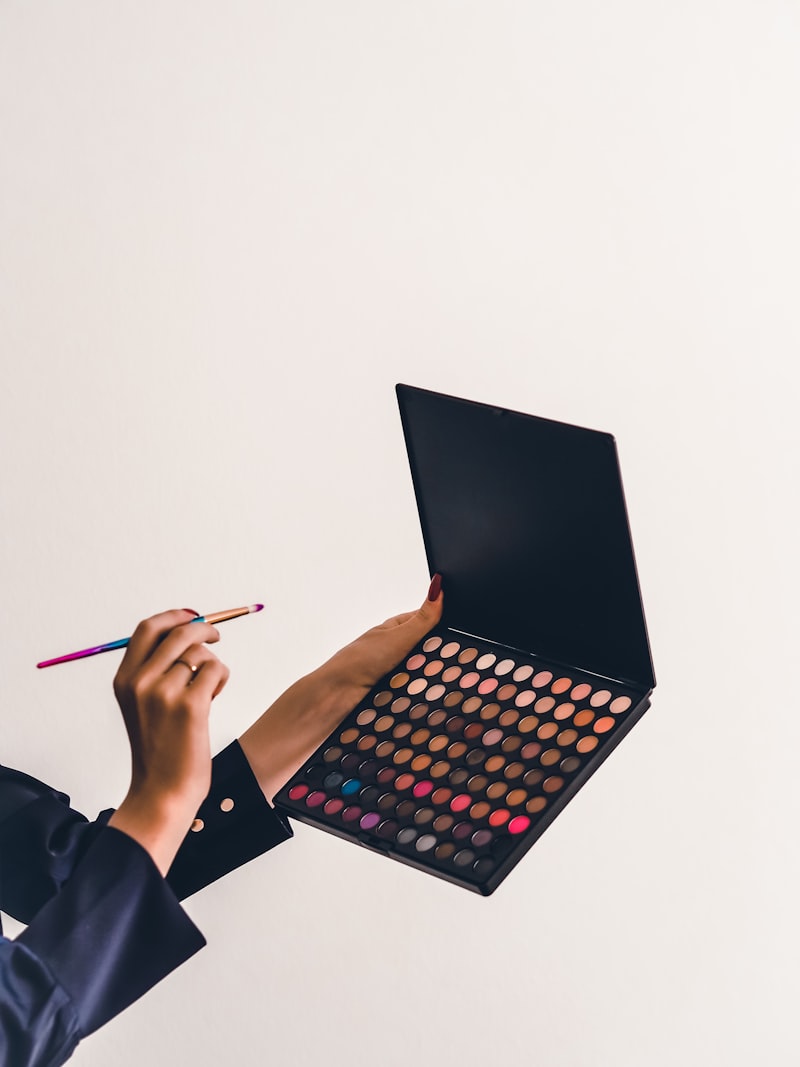
Eyeshadow Tutorial for Beginners: How to Create a Soft Fox Eye Look
A beginner-friendly, step-by-step eyeshadow tutorial for the popular fox eye look — blending technique, placement, and the mistakes that ruin it.
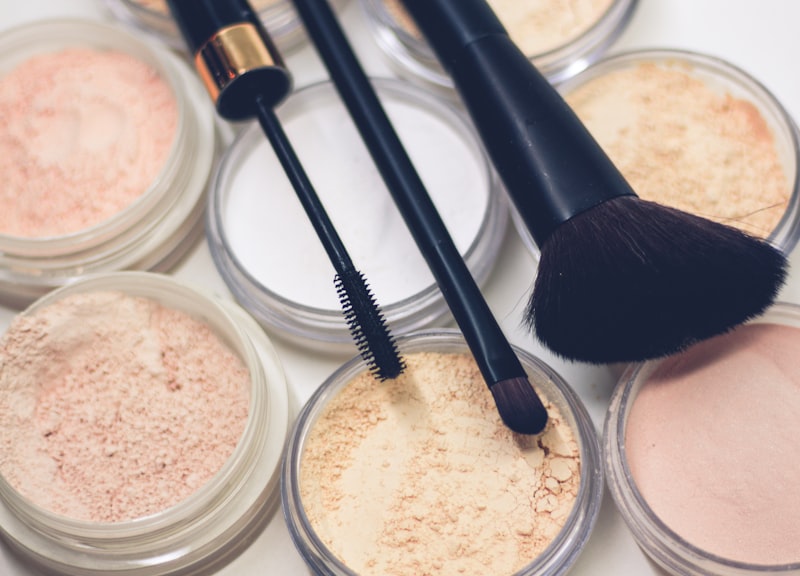
How to Use Setting Powder: The Baking Technique for Flawless, Long-Lasting Makeup
Learn how to set your foundation and concealer with powder, plus the baking technique for makeup that lasts all day without creasing or looking cakey.