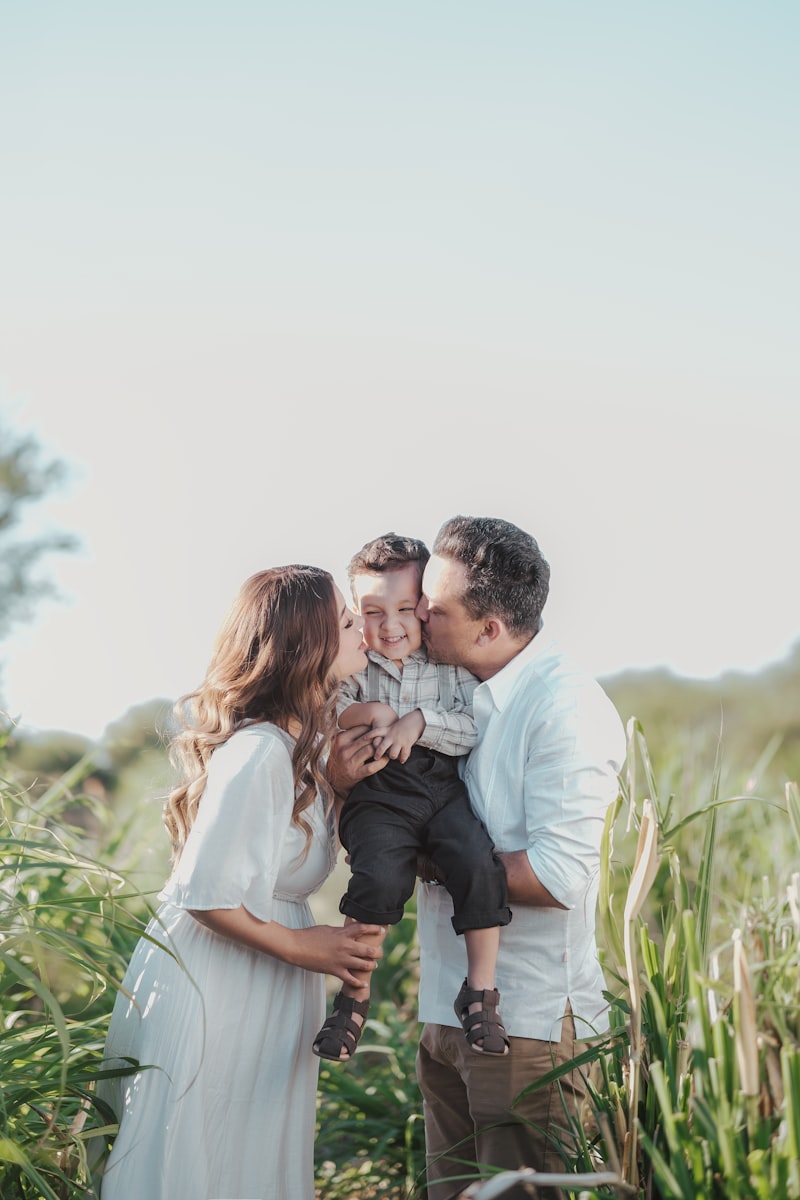
How to Do Your Makeup for Family Photos and Photoshoots
A Master Esthetician and makeup artist's professional tips for camera-ready makeup at family photoshoots — skin prep, lighting, and product choices that actually hold up on film.
By Rita Almusa, Licensed Master Esthetician — 20+ years of experience
Introduction
Family photoshoots come with a very specific kind of pressure — you want to look like the best version of yourself in photos you’ll keep for years, without added stress on a day that should be about enjoying time with the people you love. As a Master Esthetician, makeup artist, and mother, I’ve done my own family photos with these exact steps enough times to know what actually holds up on camera and what just looks good in the mirror. Here’s my full process, from skin prep through the final lip.
Start With Skin Prep the Day Of
Nothing photographs better than a fresh, well-hydrated, smooth face — camera lighting is unforgiving toward texture and dullness in a way everyday lighting simply isn’t. I always begin with the Pumpkin Enzyme Exfoliating Masque before any photoshoot to gently resurface skin and remove the dry, dull layer that can make makeup look patchy or cakey on camera. Follow this with the Vitamin Rich Daily Moisturizer and a dedicated under-eye creme before you touch a single makeup product — well-moisturized skin is the actual foundation everything else builds on.
Apply Makeup in Natural Light, Not the Bathroom
This is one of the most overlooked steps and one of the most important: apply your makeup near a window in natural daylight rather than under bathroom lighting. Artificial lighting distorts how shades and blending actually look, which means you can end up with a foundation shade or blush intensity that looks completely different once you step outside into real light — exactly the light your photos will actually be taken in.
Never Skip Primer
A good primer is just as important as a good foundation, and it’s the step people are most likely to rush or skip entirely. Apply it after moisturizer and before your base to create a smooth canvas that visibly minimizes the look of pores and fine lines under camera lighting. I like using the Collagen Serum for this step — it doubles as a hydrating primer layer that helps foundation glide on evenly rather than grabbing onto any dry patches.
Skip Mineral Makeup for Photos
Mineral makeup can give a distinct reflective quality that shows up as an unwanted glow or flashback in flash photography specifically, so I recommend a medium-coverage, non-mineral foundation instead for photoshoot days. Apply with a quality brush or a slightly damp blending sponge rather than your fingers — fingers tend to create streaks, uneven coverage, and introduce more bacteria to your foundation over time.
Set With Translucent Powder, Applied With the Right Tool
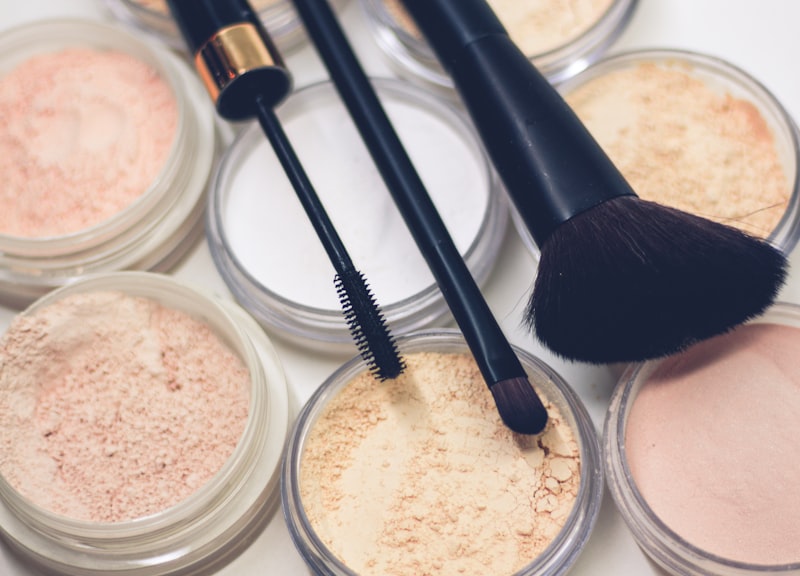
A translucent setting powder controls shine and locks makeup in place without adding extra coverage that could look heavy on camera. Apply it with a large, fluffy powder brush rather than a smaller one, which helps distribute a thin, even layer instead of concentrating powder in one spot and risking a cakey patch.
Go a Little More Dramatic Than Usual
Camera lighting genuinely mutes makeup intensity, so what looks slightly bold in the mirror often reads as perfectly balanced in photos. Lean toward matte or satin eyeshadow finishes rather than shimmer or glitter, which can catch flash and create unwanted texture or reflection on camera. Stick with neutral, earthy tones rather than trend-driven bright colors — they photograph more flatteringly and won’t look dated when you look back at the photos years from now.

The Beauty Tips Guide
20+ years as a Licensed Master Esthetician and Makeup Artist, condensed into one guide.
Eyeliner, Mascara, and Blush: Small Choices That Matter
For eyeliner, a soft powder or eyeshadow liner along the lash line reads better on camera than a heavy, thick liquid line, and go easy on the waterline specifically since over-lining there can make eyes look smaller and more closed off in photos. For lashes, a lash primer followed by two coats of waterproof mascara holds up through a full shoot, including any candid or emotional moments. Blush is non-negotiable — photos wash out natural color more than you’d expect, so a shimmer-free blush in a shade close to your natural flush, applied to the apples of the cheeks in circular motions, keeps you from looking pale or flat on camera.
Choosing the Right Lip Color
Neutral lip shades are almost always the safer, more flattering choice for family photos — a bold red or pink can unexpectedly read as aging or overpowering in certain lighting. Find a lip liner close to your natural lip color, blend it in before adding lipstick, and finish with a small dab of gloss just in the center of the lips for a fuller, more dimensional look without going full high-shine across the whole mouth.
Common Mistakes to Avoid
- Applying makeup under artificial bathroom lighting. Always finish your look near natural light so you can see how it will actually photograph.
- Choosing mineral makeup for a shoot that includes flash photography. It can create an unwanted reflective glow.
- Going too light-handed with color. Camera lighting mutes intensity, so a bit more than your everyday amount usually reads as just right.
- Skipping blush entirely. Photos wash out natural color more than everyday lighting does.
- Choosing a bold, trend-driven lip color. Neutral shades photograph more flatteringly and age better in photos you’ll keep for years.
Pro Tips
- Do a full trial run a few days before the shoot, not the morning of, so you have time to adjust anything that doesn’t photograph the way you expected.
- Bring blotting papers to the shoot for touch-ups between setups without disturbing your base makeup.
- Keep your lip color in your bag for reapplication, since lip products fade fastest during a long shoot with lots of smiling and talking.
- Smile naturally while applying blush so you can see exactly where the “apples” of your cheeks actually sit for your specific face.
Frequently Asked Questions
Should my makeup look more dramatic for photos than it does for everyday wear? Yes, slightly — camera lighting mutes intensity, so a look that feels a touch bolder than usual in the mirror typically reads as balanced and polished in the finished photos.
Why does mineral makeup look bad in photos specifically? Mineral formulas can reflect flash photography in a way that creates an unwanted glowy or shiny appearance that doesn’t show up the same way in everyday lighting.
What’s the single most important step for photoshoot-ready skin? Proper hydration and primer. A smooth, well-moisturized base is what allows the rest of the makeup to apply evenly and hold up under camera lighting.
How do I keep my makeup from looking cakey in photos? Prioritize skin prep, use a medium- rather than full-coverage foundation applied with a brush or damp sponge, and set with a light, even layer of translucent powder rather than a heavy one.
Conclusion
Photoshoot-ready makeup comes down to preparation — hydrated skin, natural lighting, the right formula choices, and a slightly more dramatic hand than your everyday routine. Watch the full video above for the complete step-by-step process, and go into your next family photoshoot feeling confident instead of stressed about how you’ll look. ✨
Related Posts
This Fall Makeup Look Works on Everyone: A Get-Ready-With-Me Tutorial
A versatile, easy fall makeup look that flatters every skin tone and eye shape — a full get-ready-with-me tutorial from base to lips.
How to Get Perfect Winged Eyeliner Every Time
A step-by-step guide to consistent, symmetrical winged eyeliner — the technique, tool choice, and fixes for the most common mistakes.
Eyeshadow Tutorial for Beginners: How to Create a Soft Fox Eye Look
A beginner-friendly, step-by-step eyeshadow tutorial for the popular fox eye look — blending technique, placement, and the mistakes that ruin it.
How to Use Setting Powder: The Baking Technique for Flawless, Long-Lasting Makeup
Learn how to set your foundation and concealer with powder, plus the baking technique for makeup that lasts all day without creasing or looking cakey.