
Liquid Eyeliner Do's and Don'ts: Common Mistakes to Avoid
A Certified Makeup Artist breaks down the most common liquid eyeliner mistakes that can make eyes look droopy, and how to fix them for a flattering shape.
By Rita Almusa, Licensed Master Esthetician — 20+ years of experience
Introduction
Liquid eyeliner is one of the more technically demanding makeup steps, and a handful of common mistakes are responsible for the majority of application issues I see — often mistakes that can make eyes look droopy or tired rather than enhancing their natural shape. As a Certified Makeup Artist, I want to break down the specific do’s and don’ts that make the biggest difference in liquid eyeliner application.
Mistake 1: Extending the Wing Downward Instead of Upward
This is the single most common cause of a droopy-looking eyeliner application. The wing should extend upward and outward, following the natural angle of your lower lash line extended past the outer corner, not straight out or, worse, angled downward, which visually pulls the whole eye down rather than lifting it.
Mistake 2: Starting Too Thick at the Inner Corner
A liquid line that’s the same thickness from inner corner to outer corner tends to look heavy and can actually make eyes look smaller. Start thin at the inner corner and gradually build thickness toward the outer corner and wing, which creates a more open, lifted effect overall.
Mistake 3: Not Using Reference Points for Your Wing Angle
Guessing at your wing angle freehand leads to uneven results between your two eyes. Use the natural angle of your lower lash line, extended in a straight line past your outer corner, as a genuine reference point for where your wing should point — this single trick makes symmetry significantly easier to achieve.
Mistake 4: Pulling the Eyelid Taut While Applying
Pulling your eyelid tight while applying liner distorts the true shape of your eye in that moment, which means the line looks correct while you’re pulling but shifts and looks off once you release the skin. Apply with your eye in its natural, relaxed position instead, even though it feels less stable while you’re drawing.
Mistake 5: Using the Wrong Brush Tip for Your Skill Level
A very fine, precise brush tip requires a steadier hand and more practice to control well, while a slightly firmer, more structured felt-tip pen style liner can be genuinely easier for beginners to control with more confidence. Choose your tool based on your actual comfort level, not just what looks most “professional.”
Mistake 6: Applying Liner in One Continuous Motion
Trying to draw your entire line in one single, continuous stroke increases the odds of a shaky, uneven result. Instead, apply in small, short strokes, building the line gradually and checking your progress as you go, rather than committing to one long line all at once.
Mistake 7: Skipping a Guide Dot for the Wing Placement
Before committing to your full wing line, place a small dot where you want the wing’s tip to end, using your lower lash line reference angle. This gives you a target to draw toward rather than guessing at the exact angle and length freehand, which significantly reduces mistakes and the need for corrections.

The Beauty Tips Guide
20+ years as a Licensed Master Esthetician and Makeup Artist, condensed into one guide.
How to Fix a Mistake Without Starting Over
If your line comes out uneven, use a cotton swab dipped in a gentle makeup remover to clean up just the mistake rather than removing your entire eye makeup and starting over. Precision matters here — clean up only the specific area that’s off, then reapply just that section rather than redoing the whole line.
Common Mistakes to Avoid
- Angling your wing downward instead of upward. This visually pulls the eye down rather than lifting it.
- Applying uniform thickness across the entire line. Build from thin at the inner corner to thicker at the outer corner and wing.
- Pulling your eyelid taut while applying. This distorts your eye’s natural shape and the line often looks off once released.
- Trying to draw the entire line in one continuous motion. Small, deliberate strokes give you more control and a steadier result.
- Committing to a full wing without a guide dot for placement first. This single step significantly reduces symmetry mistakes.
Pro Tips
- Use your lower lash line’s natural angle, extended, as your wing reference point for both eyes to improve symmetry.
- Place a small guide dot before committing to your full wing line.
- Choose a brush tip matched to your actual skill level, not just what looks the most “professional” in packaging.
- Clean up mistakes with a precise cotton swab correction rather than removing and redoing your entire eye look.
Frequently Asked Questions
Why does my eyeliner make my eyes look droopy? This is almost always caused by angling the wing downward or straight out instead of upward, following your lower lash line’s natural angle extended past the outer corner.
Should I pull my eyelid taut while applying liquid eyeliner? No — this distorts your eye’s natural shape in the moment, and the line often looks uneven once you release the skin back to its relaxed position.
What’s the best way to get symmetrical wings on both eyes? Use your lower lash line’s natural angle as a consistent reference point for both eyes, and consider placing a guide dot before committing to the full wing line.
How do I fix a mistake without redoing my whole eye makeup? Use a precise cotton swab dipped in gentle makeup remover to clean up just the specific mistake, then reapply only that section.
Conclusion
Most liquid eyeliner struggles come down to a handful of fixable habits — wing angle, line thickness progression, and application technique — rather than a lack of natural skill. Watch the full video above for the complete demonstration of these do’s and don’ts. ✨
Related Posts

This Fall Makeup Look Works on Everyone: A Get-Ready-With-Me Tutorial
A versatile, easy fall makeup look that flatters every skin tone and eye shape — a full get-ready-with-me tutorial from base to lips.
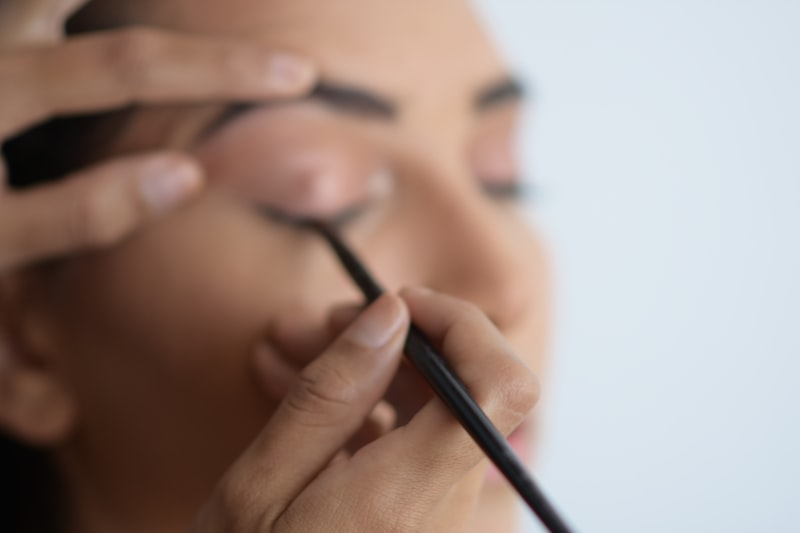
How to Get Perfect Winged Eyeliner Every Time
A step-by-step guide to consistent, symmetrical winged eyeliner — the technique, tool choice, and fixes for the most common mistakes.
Eyeshadow Tutorial for Beginners: How to Create a Soft Fox Eye Look
A beginner-friendly, step-by-step eyeshadow tutorial for the popular fox eye look — blending technique, placement, and the mistakes that ruin it.
How to Use Setting Powder: The Baking Technique for Flawless, Long-Lasting Makeup
Learn how to set your foundation and concealer with powder, plus the baking technique for makeup that lasts all day without creasing or looking cakey.