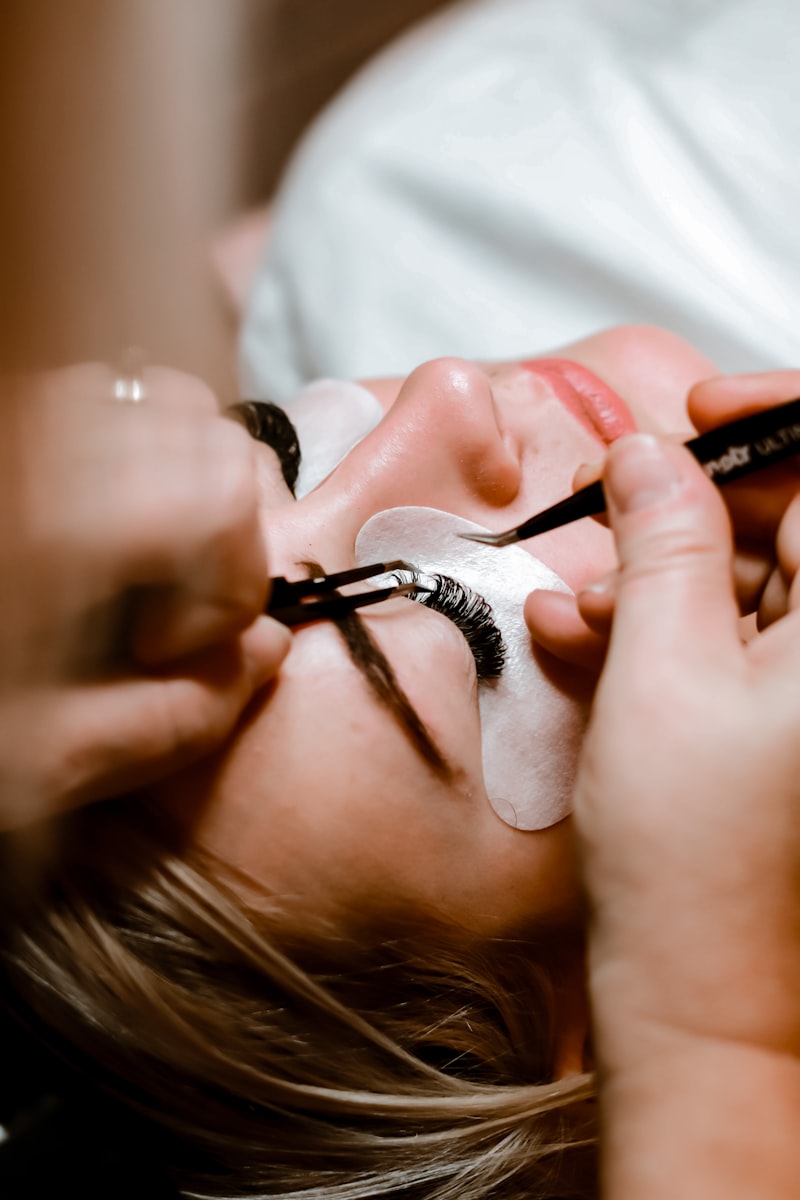
False Lashes: Do's and Don'ts for Beginners
A Certified Makeup Artist's step-by-step guide to applying false lashes so they look natural and stay on all day, plus the common mistakes to avoid.
Introduction
False lashes can transform an entire eye look, but they’re also one of the makeup steps most likely to go wrong for beginners — falling off mid-day, looking obviously fake, or feeling uncomfortable to wear. As a Certified Makeup Artist, I want to break down the specific do’s and don’ts that make the difference between falsies that look natural and last, versus ones that don’t.
Do: Choose the Right Lash Style for the Occasion
Ardell Wispie lashes offer a fuller, more dramatic look well-suited to special occasions, while more natural, shorter styles work better for everyday wear. Matching your lash choice to the actual occasion is the first decision that determines whether the final look reads as appropriate or overdone.
Don’t: Apply Lashes Straight From the Package
Lashes almost always need trimming to fit your specific eye shape — measure against your own lash line before applying, and trim from the outer end if the band is too long. Applying an untrimmed lash that’s too long for your eye shape is one of the most common reasons falsies look obviously fake or start lifting at the corners.
Do: Curl Your Natural Lashes First
Curling your natural lashes before applying falsies helps them blend more seamlessly with the false lashes rather than creating a visible, separate layer. This step is easy to skip when you’re in a hurry, but it makes a genuinely noticeable difference in how natural the finished look appears.
Don’t: Apply Glue Straight From the Tube Onto Your Lash Line
Apply a thin line of glue to the lash band itself and let it become tacky for a few seconds before applying, rather than trying to apply wet glue directly. Tacky (not wet) glue gives you significantly more control and reduces the mess and slipping that comes with applying while the glue is still fully liquid.
Do: Apply From the Center, Working Outward
Place the lash starting from the center of your natural lash line, pressing down gently, then adjust the inner and outer corners afterward. This center-out approach gives you more control than trying to line up the entire lash band in one motion from one end.
Don’t: Skip Setting the Lash Line
After the glue has set, apply a bit of eyeliner or eyeshadow along the base of the lash line to disguise the band and blend natural and false lashes together seamlessly. Skipping this step is one of the most common reasons the transition between natural and false lashes reads as visible rather than blended.
Do: Wait for Full Adhesion Before Building the Rest of Your Eye Look
Give the lash glue several minutes to fully set before continuing with the rest of your eye makeup — working around a not-yet-set lash increases the risk of it shifting or lifting before you’ve even finished your look.

The Beauty Tips Guide
20+ years as a Licensed Master Esthetician and Makeup Artist, condensed into one guide.
Don’t: Remove Falsies by Pulling
Always remove false lashes by gently loosening the band from the outer corner, ideally after softening the glue with a bit of oil-based remover or micellar water, rather than pulling directly, which can damage your natural lashes along with the glue bond.
Building Confidence With Practice
False lash application is a genuine skill that improves significantly with repetition — your first few attempts may feel slow or imperfect, and that’s completely normal. Practice on a low-pressure day before relying on false lashes for an important event.
Common Mistakes to Avoid
- Applying lashes straight from the package without trimming. This is one of the most common reasons falsies look fake or lift at the corners.
- Applying glue while it’s still fully wet. Let it become tacky first for significantly more control.
- Skipping the natural lash curl step. This helps false and natural lashes blend more seamlessly.
- Not disguising the lash band with liner or shadow. This blending step is key to a seamless, natural-looking transition.
- Pulling lashes off instead of gently loosening from the outer corner. Pulling risks damaging your natural lashes.
Pro Tips
- Always trim lashes to fit your specific eye shape before applying — this single step prevents most common falsie mistakes.
- Let glue become tacky, not wet, before application for significantly more control.
- Apply from the center outward, adjusting the corners afterward, rather than trying to align the whole band at once.
- Practice on a low-pressure day to build genuine comfort and skill before an important event.
Frequently Asked Questions
Why do my false lashes keep lifting at the corners? This is almost always because the lash band wasn’t trimmed to properly fit your eye shape — measure and trim before applying for a more secure, natural fit.
Should I apply glue directly onto my lash line? No — apply a thin line of glue to the lash band itself and let it become tacky for a few seconds before applying, rather than working with wet glue.
How do I make false lashes look natural instead of obviously fake? Curl your natural lashes first, trim the false lash band to fit, and disguise the band afterward with a bit of eyeliner or shadow along the lash line.
What’s the safest way to remove false lashes? Gently loosen from the outer corner, ideally after softening the glue with oil-based remover or micellar water, rather than pulling directly, which can damage natural lashes.
Conclusion
False lashes that look natural and stay put all day come down to proper trimming, glue technique, and a few key blending steps — all genuinely learnable with a little practice. Watch the full video above for the complete step-by-step demonstration. ✨
Related Posts

This Fall Makeup Look Works on Everyone: A Get-Ready-With-Me Tutorial
A versatile, easy fall makeup look that flatters every skin tone and eye shape — a full get-ready-with-me tutorial from base to lips.
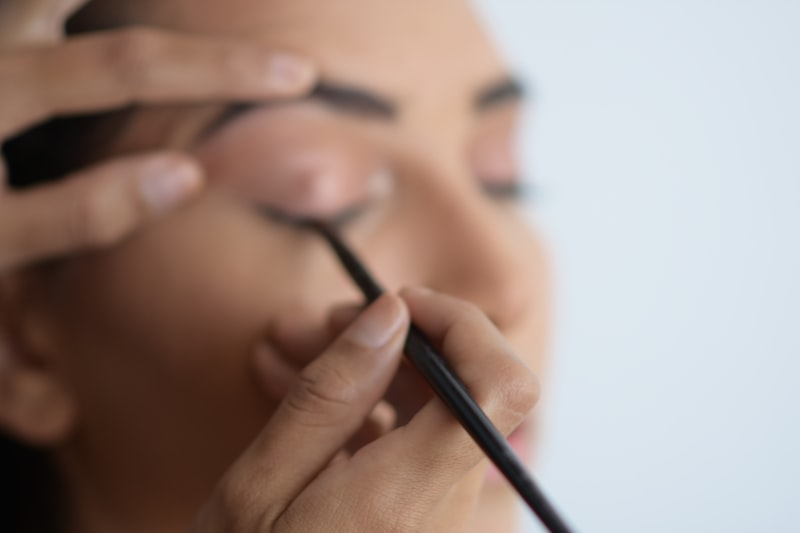
How to Get Perfect Winged Eyeliner Every Time
A step-by-step guide to consistent, symmetrical winged eyeliner — the technique, tool choice, and fixes for the most common mistakes.

Eyeshadow Tutorial for Beginners: How to Create a Soft Fox Eye Look
A beginner-friendly, step-by-step eyeshadow tutorial for the popular fox eye look — blending technique, placement, and the mistakes that ruin it.
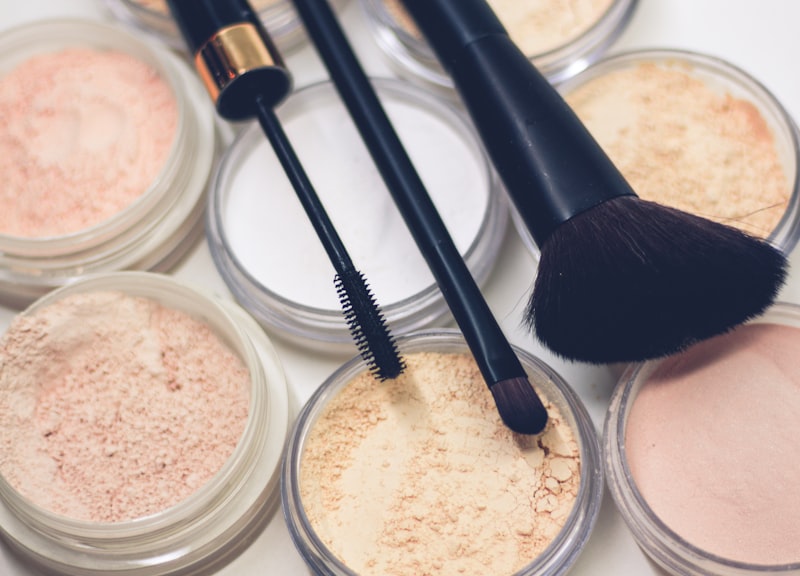
How to Use Setting Powder: The Baking Technique for Flawless, Long-Lasting Makeup
Learn how to set your foundation and concealer with powder, plus the baking technique for makeup that lasts all day without creasing or looking cakey.