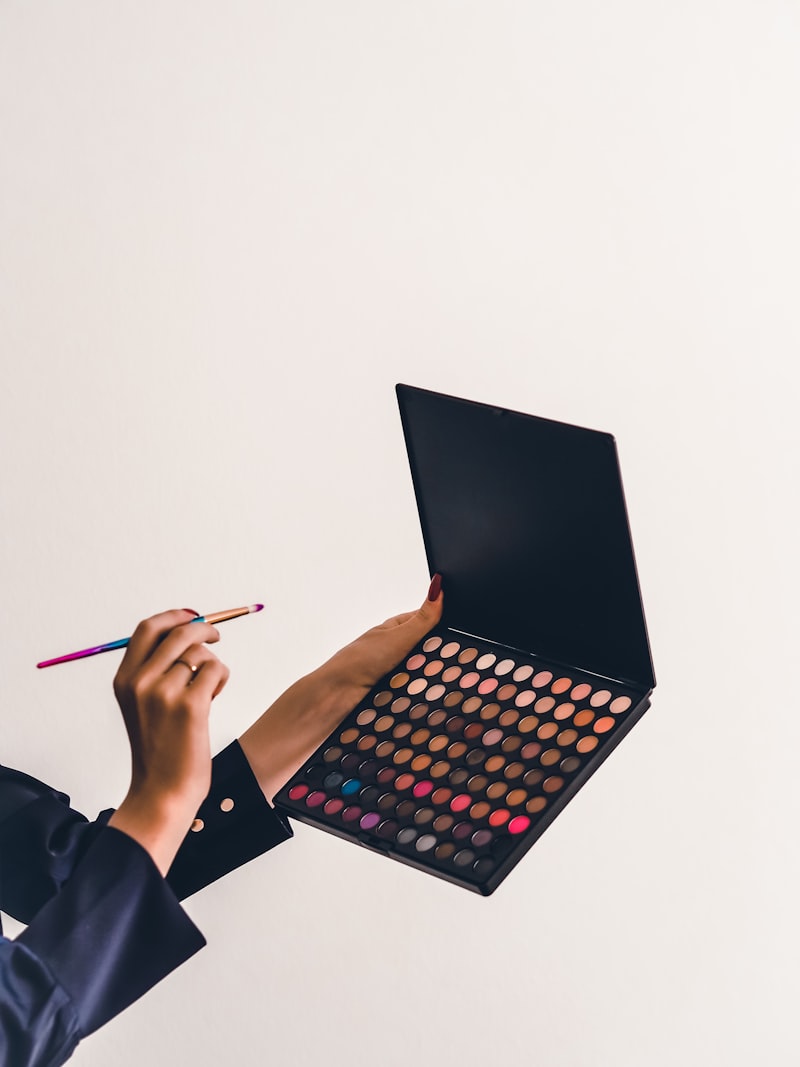
Eyeshadow Tutorial for Beginners: How to Create a Soft Fox Eye Look
A beginner-friendly, step-by-step eyeshadow tutorial for the popular fox eye look — blending technique, placement, and the mistakes that ruin it.
By Rita Almusa, Licensed Master Esthetician — 20+ years of experience
Introduction
The fox eye look — a soft, elongated eyeshadow shape that lifts and stretches the eye outward — is one of the most requested eye looks I get asked about, and it’s more approachable than it looks once you understand the placement logic behind it. This beginner-friendly tutorial breaks down exactly how to build the shape using blending technique rather than complicated product application.
What Makes the Fox Eye Look Work
The fox eye effect isn’t really about a specific set of products — it’s about direction. Every element of this look, from where you place shadow to how you wing your liner, pulls the eye up and out toward the temple rather than following the eye’s natural round shape. Understanding that single principle makes the whole look much easier to execute, since every step is really just applying the same directional logic to a different area.
What You’ll Need
- A neutral, blendable eyeshadow palette with both matte and shimmer shades
- A small, dense blending brush
- A fluffy crease brush
- Eyeliner (pencil or liquid)
- Mascara
A well-rounded set like the 7 Piece Makeup Brush Set covers your blending and crease brushes, while a flat-top kabuki brush is worth having on hand for the base you’ll build this look on top of.
Step-by-Step Tutorial
1. Prep Your Lid
Apply a light layer of eyeshadow primer or your regular concealer, like the Tarte Shape Tape Contour Concealer, pressed thinly across the lid. This helps shadow grip and blend more evenly, and prevents creasing later in the day.
2. Apply a Transition Shade in the Crease
Using a fluffy brush, sweep a matte, skin-toned-but-slightly-deeper shade through your crease, focusing the color toward the outer corner rather than distributing it evenly. This uneven weighting toward the outer corner is the first building block of the fox eye shape.
3. Deepen the Outer V
With a smaller, denser brush, apply a deeper matte shade specifically to the outer corner, blending it up and slightly out toward your brow tail rather than straight up. This creates the “wing” shape that defines the look.
4. Add Shimmer to the Center of the Lid
A touch of shimmer shade patted (not swept) onto the center of your lid adds dimension and draws light forward, balancing the deeper shadow at the outer corner.
5. Blend the Transition Thoroughly
Go back over the crease and outer corner with a clean, fluffy brush to soften any visible lines between shades. The fox eye look depends on a soft, gradient transition — hard edges undercut the elongated effect you’re going for.
6. Wing Your Eyeliner Upward
Apply liner along your upper lash line, extending the wing upward and outward toward the end of your eyebrow rather than straight out to the side. This liner angle reinforces the lifted shape you built with shadow.
7. Finish With Mascara, Focused on Outer Lashes
Apply mascara with slightly more emphasis on your outer lashes, sweeping the wand up and out to match the direction of everything else in the look.
Common Mistakes to Avoid
- Distributing shadow evenly across the whole lid. This creates a rounder, more traditional smokey eye rather than the elongated fox eye shape — the color needs to be weighted toward the outer corner.
- Winging eyeliner straight out to the side. The upward, brow-tail-directed angle is what creates the lift; a flat wing reads as a totally different look.
- Skipping the blend step. Hard edges between shadow shades break the soft, gradient effect the whole look depends on.
- Using only matte shades. Some shimmer or sheen in the center of the lid adds the dimension that keeps the look from appearing flat.

The Beauty Tips Guide
20+ years as a Licensed Master Esthetician and Makeup Artist, condensed into one guide.
Making the Look Last Through the Day
Longevity comes down to two things: proper prep and setting your work. Beyond the primer or concealer base mentioned in step one, pressing a translucent powder very lightly over your lid after blending helps “set” the cream-like texture of blended shadow, reducing creasing. If you know you’ll be wearing the look for a long day or a warm environment, a setting spray focused on the eye area at the very end adds extra insurance against fallout and smudging.
Adapting This Look for Different Eye Shapes
- Hooded eyes: Focus your deeper shadow placement slightly higher than you’d expect, since hooded lids can hide crease work when eyes are open. Check your blending with eyes open, not just closed.
- Downturned eyes: This look is particularly flattering here, since the upward wing direction directly counters the natural downward angle.
- Monolid eyes: Focus more of the color weight toward the outer corner and rely more on the liner wing to create the lifted shape, since crease definition reads differently without a visible lid fold.
Troubleshooting Common Problems
The outer V looks too harsh or obvious. Go back over it with a clean, fluffy brush using windshield-wiper motions to soften the edge — a harsh line is almost always a blending issue, not a placement issue.
My eyeliner wing doesn’t match my eyeshadow shape. Try mapping both with small guide dots before committing to full strokes on either — this keeps the direction consistent between your shadow’s outer corner and your liner’s wing angle.
The look doesn’t seem to “lift” the way I expect. Double-check that your deeper shadow and liner wing are both angled up toward your brow tail rather than straight out to the side — a flat angle undercuts the entire effect.
Pro Tips
- Use a small brush for the outer V — a brush that’s too large makes it hard to keep the deeper shadow contained to the outer corner.
- Tightline your upper lash line before winging liner, which makes lashes look fuller and gives your wing a more defined base to build from.
- Practice the wing angle on the back of your hand first if you’re new to winged liner, so you can commit to the motion more confidently on your actual eye.
- Set your liner wing with a matching eyeshadow pressed on top for extra longevity and a slightly softer finish than liner alone.
Frequently Asked Questions
Do I need false lashes for this look to work? No — mascara alone is enough, though false lashes or lash extensions can enhance the elongated effect further if you want a more dramatic version.
How long does this look take once I’ve practiced it? Most people get comfortable doing this in 10-15 minutes once they understand the placement logic. The winged liner step tends to take the most practice to feel confident with.
Can this technique work for a more subtle, everyday look? Yes — skip the deep outer V and shimmer, and just focus on a soft transition shade weighted toward the outer corner with a subtle liner flick. You get the same lifted effect with much less product and time.
What eyeshadow colors work best for this look? Warm neutrals (taupe, soft browns, terracotta) tend to blend most seamlessly for the transition and crease shades, though the directional technique works with essentially any color palette you prefer.
Conclusion
The fox eye look comes down to one consistent principle applied through every step: pull color, shape, and liner up and outward rather than following the eye’s natural round shape. Watch the full tutorial above to see the exact blending and placement in motion, and don’t worry if your first attempt isn’t perfectly symmetrical — that gets easier with practice, like any eye makeup technique. ✨
Related Posts

This Fall Makeup Look Works on Everyone: A Get-Ready-With-Me Tutorial
A versatile, easy fall makeup look that flatters every skin tone and eye shape — a full get-ready-with-me tutorial from base to lips.
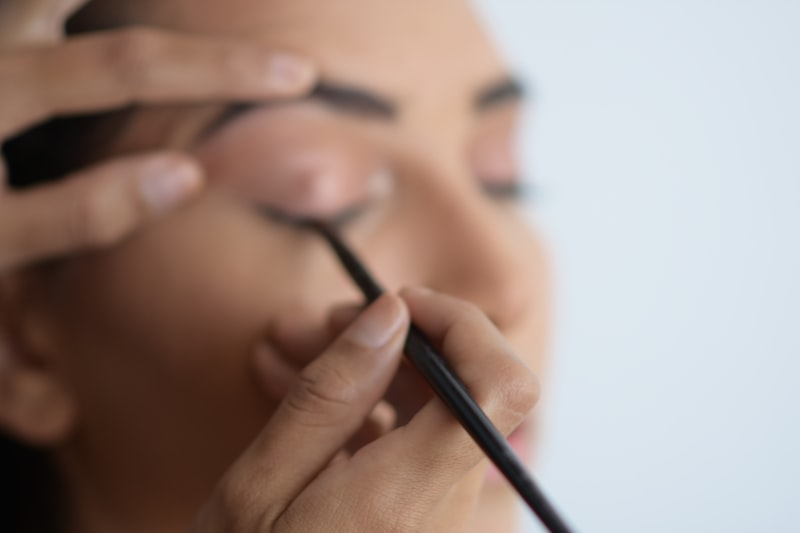
How to Get Perfect Winged Eyeliner Every Time
A step-by-step guide to consistent, symmetrical winged eyeliner — the technique, tool choice, and fixes for the most common mistakes.
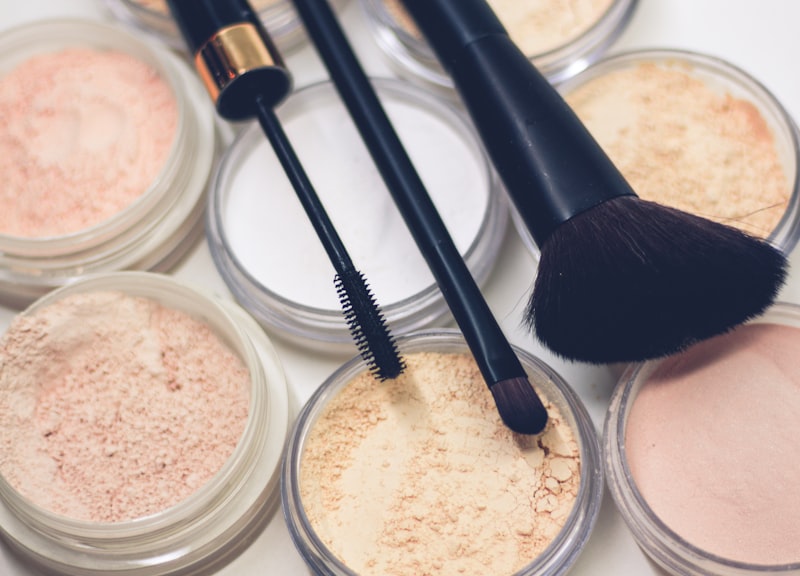
How to Use Setting Powder: The Baking Technique for Flawless, Long-Lasting Makeup
Learn how to set your foundation and concealer with powder, plus the baking technique for makeup that lasts all day without creasing or looking cakey.
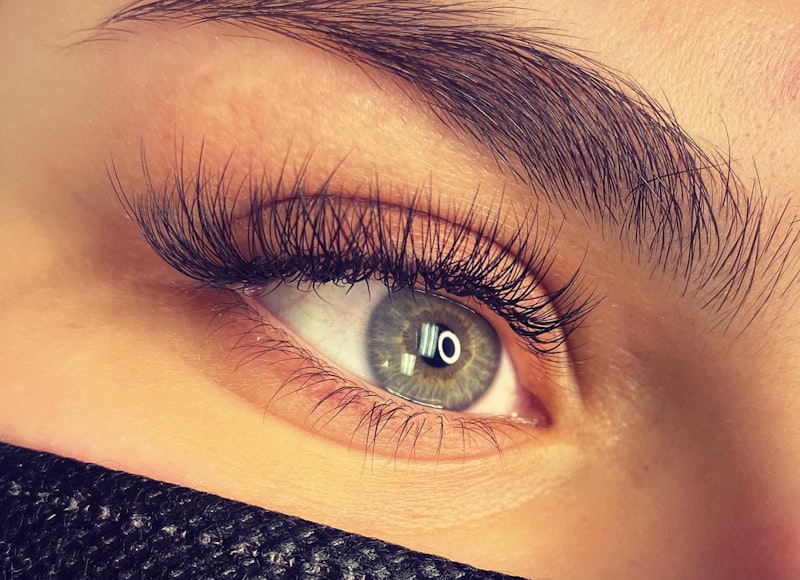
How to Get Anime-Inspired Lashes With Just Mascara
A Certified Makeup Artist's mascara tutorial for the trendy anime-inspired lash look — long, dramatic, wide-set lashes without falsies or extensions.