At-Home Microneedling: What It Can (and Can't) Do for Acne Scars and Pores
A licensed esthetician's honest, safety-first guide to at-home microneedling — realistic expectations, proper technique, and when to see a professional instead.
By Rita Almusa, Licensed Master Esthetician — 20+ years of experience
Introduction
Microneedling has real, clinically-studied potential to help improve the appearance of skin texture, and it’s also a technique where doing it incorrectly carries genuine risk — which makes proper safety information more important here than for almost any other at-home skincare tool. As a licensed Master Esthetician, I want to walk through what at-home microneedling can realistically help with, how to do it safely if you choose to, and where professional treatment is the smarter, safer choice instead.
What Microneedling Actually Is
Microneedling uses a device, like the GlowPro by BeautyBio, covered in very fine needles to create controlled, microscopic punctures in the skin’s surface. This is understood to trigger the skin’s natural wound-healing response, which includes increased collagen production — the theory behind why consistent microneedling may help improve the appearance of fine lines, some types of scarring, and overall skin texture over time.
At-Home vs. Professional Microneedling: An Important Distinction
This is the most important safety information in this entire guide: at-home microneedling tools use significantly shorter needle lengths (typically under 0.3mm) than professional in-office devices, which can safely use longer needles under sterile clinical conditions. This isn’t just a marketing distinction — needle depth directly affects both results and risk. At-home tools are designed for surface-level texture and product absorption benefits; they are not a substitute for professional treatment of significant acne scarring, which often requires the deeper, more controlled needling only safely done in a licensed provider’s office.
Who Should See a Professional Instead
If you’re dealing with significant, deep, or long-standing acne scarring, this is genuinely a case where professional treatment is the safer and more effective choice, not an at-home device. A licensed dermatologist or trained esthetician can assess your specific scarring, use appropriately calibrated tools under sterile clinical conditions, and address active concerns like ongoing acne (which should generally be resolved before any microneedling, at home or in-office) as part of a complete treatment plan.
How to Do At-Home Microneedling Safely, If You Choose To
1. Never Use It Over Active Acne or Broken Skin
This is a hard rule, not a suggestion. Microneedling over active breakouts risks spreading bacteria across your face and can worsen inflammation significantly.
2. Sanitize Your Device Before and After Every Use
Clean the needle head with rubbing alcohol before and after each session. This is a genuine infection-prevention step, not an optional extra.
3. Start With Clean Skin and Clean Hands
Wash your hands and cleanse your face thoroughly before beginning any session.
4. Use Light, Even Pressure
Roll the device in a light, even pattern — vertical, horizontal, and diagonal passes over each area — without pressing hard. More pressure is not more effective; it just increases irritation and injury risk.
5. Apply a Serum, Not Active Ingredients, Immediately After
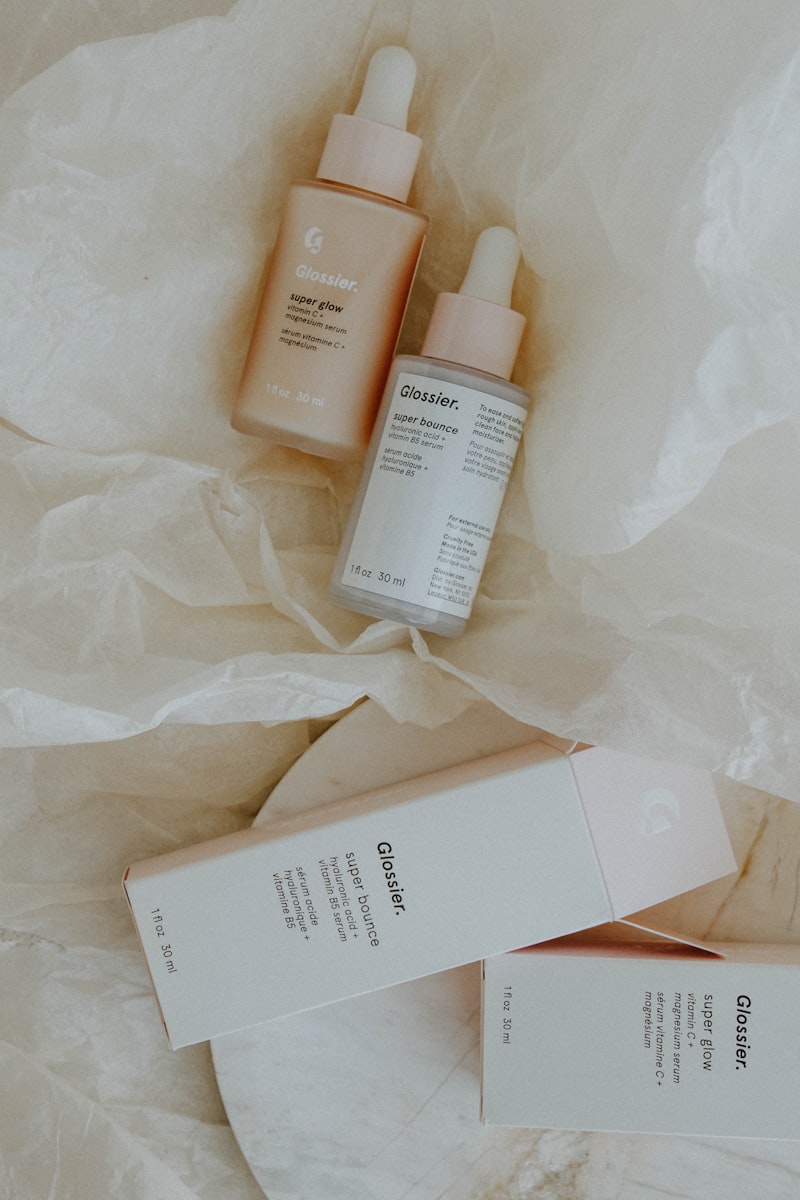
Right after microneedling, skin is significantly more permeable and receptive to product. A gentle, hydrating serum like the MintPear Collagen Serum is appropriate here — strong actives like retinol or high-percentage acids should be avoided on freshly microneedled skin, since increased permeability also means increased irritation risk from harsh ingredients.
6. Avoid Sun Exposure and Skip Makeup for the Rest of the Day
Freshly microneedled skin is more vulnerable to both UV damage and potential contamination from makeup applicators. Give your skin the rest of the day to recover before applying makeup, and be diligent with SPF in the following days.

The Beauty Tips Guide
20+ years as a Licensed Master Esthetician and Makeup Artist, condensed into one guide.
What to Expect Immediately After a Session
Mild redness, similar to a light sunburn appearance, is a normal and expected response right after microneedling and typically resolves within a few hours to a day. Skin may also feel slightly tight or sensitive during this window. This is your skin’s expected wound-healing response beginning — it’s not a sign anything went wrong, provided it resolves within the expected timeframe and isn’t accompanied by more concerning symptoms like significant swelling or discharge.
How Often Is Safe?
Once every four to six weeks is the generally recommended frequency for at-home devices, giving skin adequate time to fully recover between sessions. More frequent use does not improve results and significantly increases irritation and injury risk.
Common Mistakes to Avoid
- Using a device with needles that are too long for at-home use. Stick to devices specifically designed and labeled for at-home use.
- Not sanitizing the device properly. This is a genuine infection risk, not just a hygiene suggestion.
- Applying strong actives immediately afterward. Freshly treated skin is more permeable and more easily irritated by harsh ingredients.
- Treating over active breakouts. Wait until acne has cleared before microneedling that area.
- Doing it too frequently. Skin needs real recovery time between sessions.
What to Look for When Choosing a Device
- Clearly labeled needle length, ideally under 0.3mm for at-home, unsupervised use.
- Medical-grade stainless steel needles, which are more reliably sterile-compatible than lower-quality materials.
- A replaceable needle head, so you’re not reusing a worn or dulled tip indefinitely.
- Clear manufacturer instructions on sanitization and frequency, which signals a brand that takes the safety side of this technology seriously.
Pro Tips
- Replace your device’s needle head regularly per the manufacturer’s guidance — dull or worn needles are less effective and can cause more trauma to the skin.
- Keep a consistent four-to-six week schedule rather than sporadic sessions, since consistency matters for any potential collagen-related benefit.
- Track your skin’s response with photos in consistent lighting, since changes from a gradual process like this are easy to miss day to day.
- Stop immediately if you notice unusual redness, swelling, or signs of infection, and consult a healthcare professional if symptoms don’t resolve quickly.
Frequently Asked Questions
Can at-home microneedling actually remove acne scars? At-home devices may help improve the appearance of mild texture irregularities over time with consistent use, but they are not a reliable solution for significant or deep acne scarring — that typically requires professional treatment.
Is microneedling safe for all skin types? It requires more caution for some skin types and conditions, including active acne, eczema, psoriasis, or a history of keloid scarring. Consult a dermatologist if you have any of these concerns before trying it, even at home.
How long until I might see any results? Any potential improvement in texture from consistent, correct at-home use typically takes several months of regular sessions to become visible, since the process relies on the skin’s gradual natural healing response.
Can I combine microneedling with other skincare treatments? Space out other exfoliating treatments (chemical peels, strong acids) from your microneedling sessions rather than combining them on the same day, since stacking multiple exfoliating or skin-barrier-disrupting treatments increases irritation risk significantly.
Is redness after microneedling normal? Mild, short-lived redness immediately after a session is a normal, expected response, similar to how skin reacts after other controlled exfoliation. Redness that persists for more than a day or two, or that’s accompanied by swelling or discharge, is not normal and warrants medical attention.
Conclusion
At-home microneedling can be a reasonable, low-risk addition to a skincare routine for surface-level texture support when done correctly and safely — but it has real limits, and significant scarring deserves professional evaluation rather than an at-home approach. Watch the full video above for the complete technique, and please treat the safety steps here as non-negotiable, not optional. ✨
Related Posts
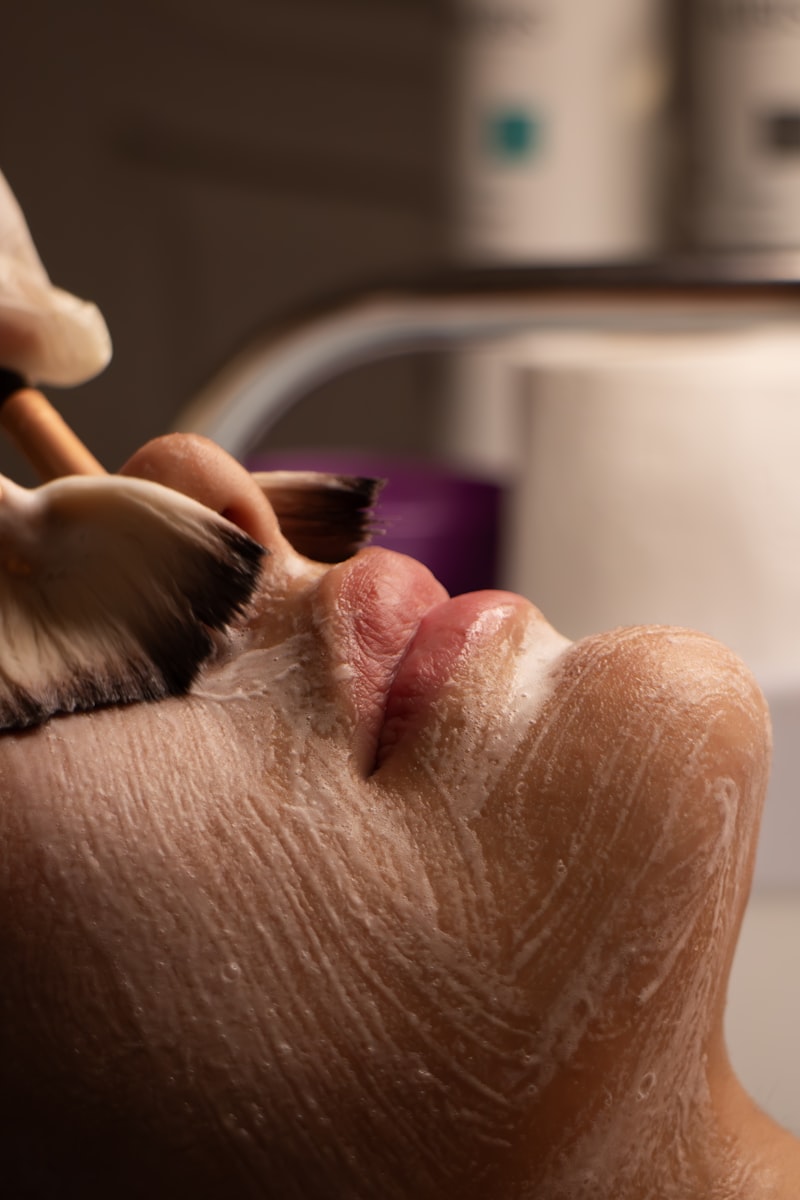
I Tried a Vibrating Facial Cleansing Wand — Here's My Honest Review
An esthetician's honest review of vibrating facial cleansing wands — how they actually help your routine, and how to use one correctly.
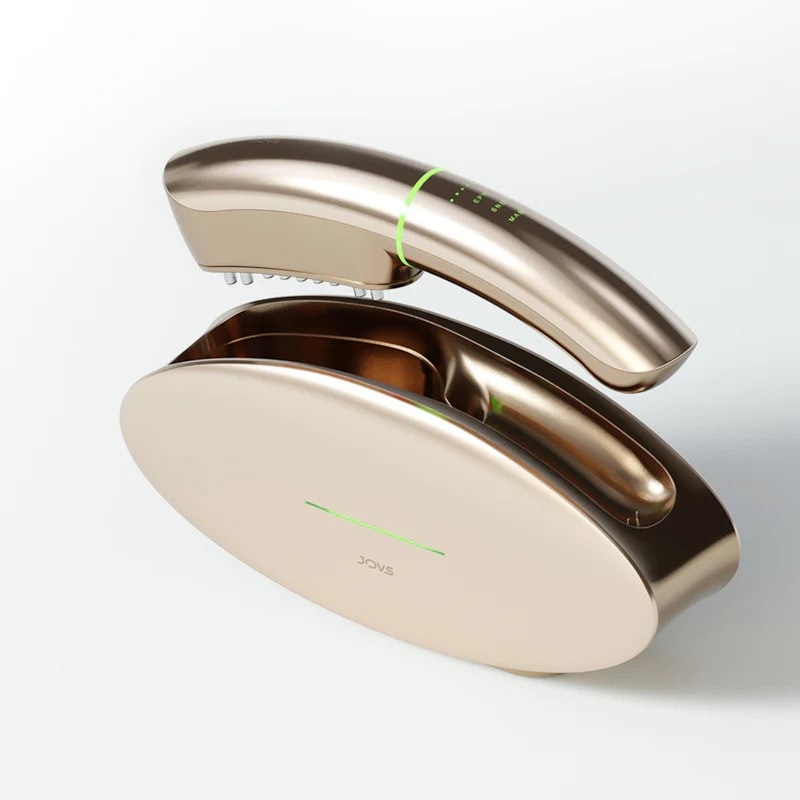
Do Microcurrent Facial Devices Actually Work? An Esthetician's Honest Take
A licensed esthetician breaks down how microcurrent facial devices actually work, what's realistic marketing vs. hype, and what results to expect.

Do Facial Steamers Actually Work? An Esthetician's Honest Guide
A licensed esthetician explains what a facial steamer actually does for your skin, how to use one safely, and whether it's worth adding to your routine.
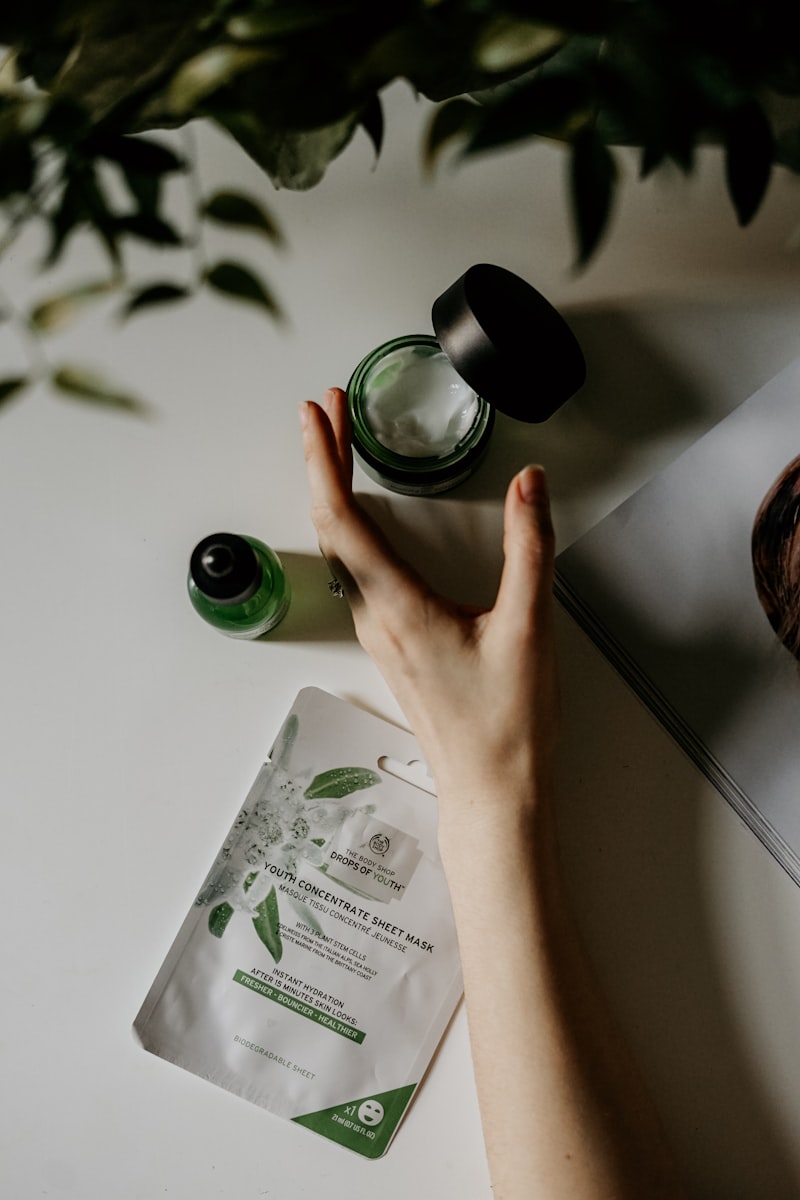
My Nighttime Skincare Routine: An At-Home Facial Anyone Can Do
A licensed esthetician's full nighttime skincare routine — a step-by-step at-home facial ritual for glowing skin, in the right order.