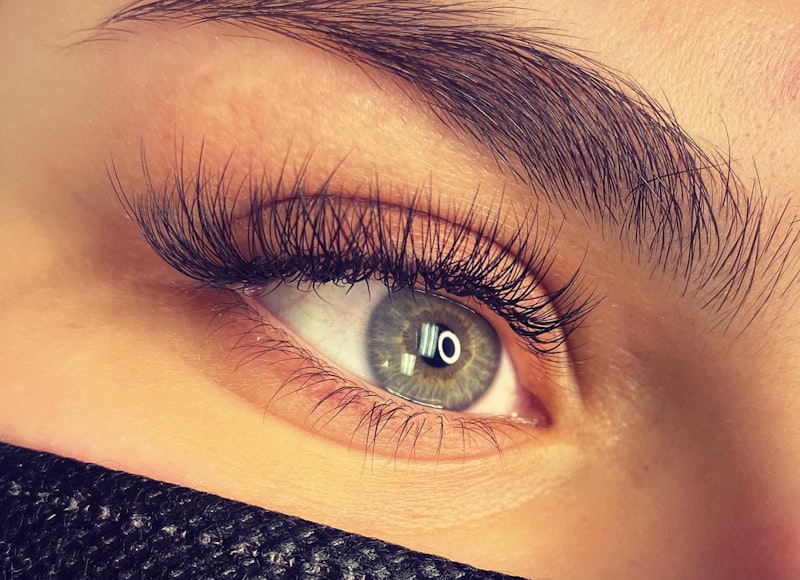
How to Get Anime-Inspired Lashes With Just Mascara
A Certified Makeup Artist's mascara tutorial for the trendy anime-inspired lash look — long, dramatic, wide-set lashes without falsies or extensions.
Introduction
The anime-inspired lash trend — long, wide, dramatically fanned-out lashes — has become genuinely popular, and the good news is you can get surprisingly close to this look using just mascara and the right technique, no falsies or extensions required. As a Certified Makeup Artist, I want to walk through exactly how to build this effect with product you likely already own.
What Makes the Anime Lash Look Distinct
Unlike a typical voluminous lash look, which focuses on thickness and length uniformly, the anime-inspired style emphasizes width and a fanned, wide-set quality, with lashes that appear to extend outward at the corners more dramatically than a standard curl. Understanding this distinct shape is the key to recreating it — it’s not just “more mascara,” it’s a specific placement technique.
Step One: Curl Strategically, Not Uniformly
Rather than curling your entire lash line with even pressure, focus extra curl at the outer corner lashes specifically, angling your curler slightly outward as you work toward the end of the lash line. This creates the winged, fanned-out quality that’s central to the look, rather than a uniform upward curl across the whole eye.
Step Two: Apply a Lash Primer for Maximum Build
A white or clear lash primer coats each individual lash and gives your mascara significantly more to grip onto, which matters especially for a look this dramatic — you need real volume and length to achieve the fanned, anime-inspired effect, and primer genuinely helps your regular mascara build more than it could alone.
Step Three: Wiggle at the Root, Then Sweep Outward and Up
Apply mascara with a wiggling motion at the base of the lashes to coat the roots thoroughly, then sweep upward and outward toward the outer corner specifically, rather than straight up. This outward sweeping motion at the ends is what creates the wide, fanned appearance central to this look.
Step Four: Concentrate Extra Layers at the Outer Corners
Build two to three thin coats overall, but add an extra layer or two specifically at the outer corner lashes, since this is where the dramatic, wide-set effect needs the most volume and length. Let each layer dry slightly before adding the next to avoid clumping.
Step Five: Separate for a Fanned, Not Clumped, Finish
Use a clean spoolie brush to comb through and separate lashes after your final coat, focusing especially on the outer corners where you’ve built the most product. This separation step is what keeps the look reading as fanned and dramatic rather than clumped and spidery.
Adding Definition With Eyeliner
A thin line along the upper lash line, winged slightly upward and outward at the corner, reinforces the same fanned direction your mascara technique is building and helps the whole eye look more cohesive and intentional.

The Beauty Tips Guide
20+ years as a Licensed Master Esthetician and Makeup Artist, condensed into one guide.
Working With Your Natural Lash Shape
This technique works with a range of natural lash lengths, but if your lashes are naturally shorter, a lengthening-specific mascara formula, combined with this same curling and placement technique, will get you noticeably closer to the effect than a volumizing-only formula would.
Making the Look Last
Since this look relies on precise curl and placement, avoid rubbing your eyes or touching your lashes throughout the day, and consider a lash-setting clear mascara as a final step if you know your curl tends to relax by midday.
Common Mistakes to Avoid
- Curling uniformly instead of emphasizing the outer corners. The fanned, wide-set quality comes from targeted outer-corner curl and product placement.
- Sweeping mascara straight up instead of outward at the ends. The outward sweep is what creates the distinctive anime-inspired shape.
- Skipping lash primer for a look this dramatic. Primer genuinely helps build the volume and length this style needs.
- Applying one thick coat instead of thin, buildable layers. Thin layers, concentrated at the outer corners, give a cleaner, more fanned result.
Pro Tips
- Angle your curler outward at the ends rather than curling with uniform pressure across the whole lash line.
- Use a lash primer before mascara to maximize achievable volume and length for this more dramatic look.
- Concentrate extra mascara layers at the outer corners specifically, where the fanned effect needs the most build.
- Separate lashes with a clean spoolie after your final coat to avoid a clumped, spidery finish.
Frequently Asked Questions
Can I really get this look with just mascara, no falsies? Yes — with the right curling technique, lash primer, and outer-corner-focused product placement, you can get noticeably close to this effect without falsies or extensions.
What if my natural lashes are short? A lengthening-specific mascara formula, combined with the same technique, will get you closer to the effect than a volumizing-only formula on naturally shorter lashes.
How do I avoid a clumpy, spidery look instead of a fanned one? Build in thin layers rather than one thick coat, and always separate lashes with a clean spoolie brush after your final layer, especially at the outer corners.
Does this look work for everyday wear? It’s more dramatic than a typical everyday look, but scaling back the number of layers and keeping the technique more subtle can make a softer version work for daytime.
Conclusion
The anime-inspired lash look is genuinely achievable with strategic curling, the right products, and outer-corner-focused technique — no falsies required. Watch the full video above for the complete demonstration. ✨
Related Posts
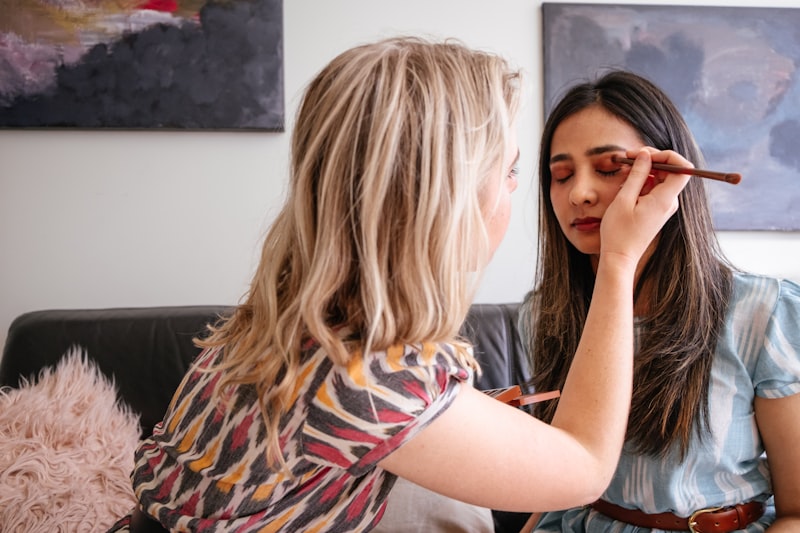
This Fall Makeup Look Works on Everyone: A Get-Ready-With-Me Tutorial
A versatile, easy fall makeup look that flatters every skin tone and eye shape — a full get-ready-with-me tutorial from base to lips.
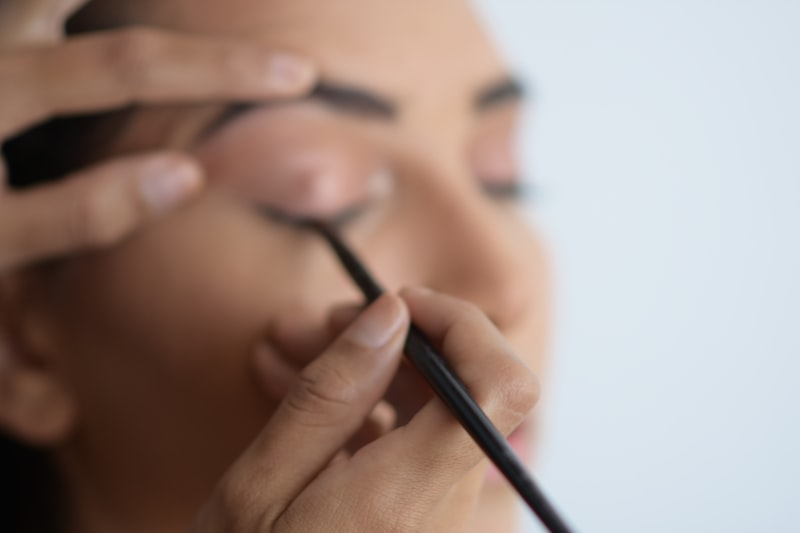
How to Get Perfect Winged Eyeliner Every Time
A step-by-step guide to consistent, symmetrical winged eyeliner — the technique, tool choice, and fixes for the most common mistakes.

Eyeshadow Tutorial for Beginners: How to Create a Soft Fox Eye Look
A beginner-friendly, step-by-step eyeshadow tutorial for the popular fox eye look — blending technique, placement, and the mistakes that ruin it.
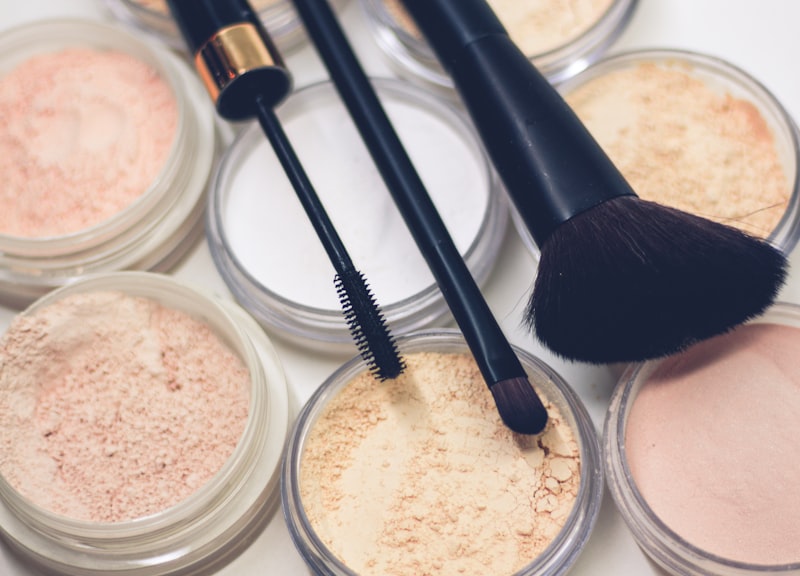
How to Use Setting Powder: The Baking Technique for Flawless, Long-Lasting Makeup
Learn how to set your foundation and concealer with powder, plus the baking technique for makeup that lasts all day without creasing or looking cakey.